

For avid anglers, maintaining fishing tackle is crucial for optimizing performance and ensuring a successful catch. Over time, components such as reels, rods, and lines can suffer wear and tear, leading to the necessity for repairs or replacements. Understanding how to navigate the process of replacing damaged fishing tackle parts can greatly enhance your fishing experience and save both time and money.
Repairs to fishing gear often involve identifying the specific parts that require attention. This can include anything from replacing a frayed fishing line to being more intricate, such as fixing a broken reel. By knowing the proper methods for tackling such repairs, even novice fishermen can manage their gear effectively and maintain its functionality.
Additionally, there is a wealth of resources available, ranging from online tutorials to local tackle shops, that can assist anglers in sourcing the right replacements. By taking proactive steps to repair and replace damaged components, fishers can ensure their equipment remains in peak condition–ready to face the challenges of the waters ahead.
Identifying Commonly Damaged Fishing Tackle Components
Understanding the components of your fishing tackle and identifying which parts are commonly damaged is crucial for effective repair and maintenance. Regular inspections can prevent unexpected issues while fishing.
Rods are often susceptible to damage, particularly at the tip and guide areas. Cracks or breaks in the rod can lead to performance issues. Inspect the rod for any signs of splintering or bending, as these faults can severely affect casting distance and accuracy.
Reels play a vital role in the fishing process and are frequently exposed to harsh conditions. Check for any corrosion, particularly along the spool and drag systems. Damaged gears can also disrupt smooth operation, necessitating immediate attention and possible repair or replacement.
Lines are critical for connecting the hook to your rod. Look for abrasions, fraying, or kinks, which can lead to weak spots. A compromised line can result in lost catches, so replacing a damaged section is essential for successful fishing.
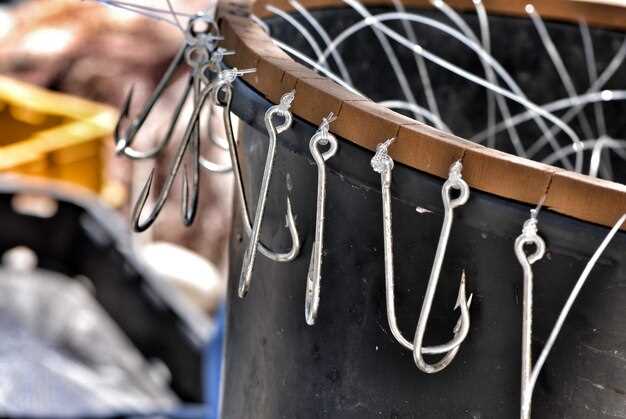
Hooks are prone to bending or dulling with regular use. A bent hook can affect your ability to catch fish, while a dull one makes it difficult to set the hook effectively. Regularly check hooks for these issues and replace them as needed.
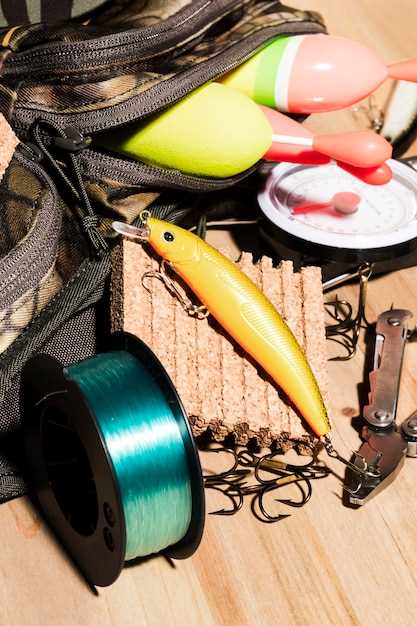
Lures and baits can also suffer from wear and tear, especially their paint and attachments. Damaged lures may not attract fish effectively, so inspect them closely for any signs of damage. Replacing or repairing these components can enhance your fishing experience.
By vigilantly identifying these commonly damaged parts, anglers can ensure their tackle remains in optimal condition. Routine maintenance and timely repairs will lead to more successful fishing outings.
Step-by-Step Guide to Repairing Rod Eyes and Guides
Repairing rod eyes and guides is essential for maintaining the functionality of your fishing tackle. Follow this step-by-step guide to ensure a smooth and effective repair process.
Step 1: Assess the Damage
Begin by closely inspecting the rod eyes and guides. Look for cracks, bends, or missing parts. Identify which components need to be replaced and ensure you have the right tackle parts on hand before proceeding.
Step 2: Gather Necessary Tools
Collect all tools needed for the repair. This typically includes a small screwdriver, pliers, a heat source (like a heat gun), and replacement parts for the damaged guides. Make sure you have epoxy glue or rod finish to secure the new components.
Step 3: Remove Damaged Guides
Carefully use the heat source to loosen the adhesive binding the damaged guide to the rod. Gently pull the guide off the rod using pliers. Be cautious not to damage the rod blank during this step.
Step 4: Prepare the Rod Blank
Once the old guide is removed, clean the area where the guide was attached. Use a cloth to wipe away any residue. Ensure the surface is smooth to allow effective adhesion of the new guide.
Step 5: Attach New Guides
Position the new guide on the rod blank, aligning it properly with other guides. Apply a small amount of epoxy glue to the base of the guide. Firmly press it against the rod, ensuring it is straight and correctly positioned.
Step 6: Secure the Guide
Wrap the base of the new guide with rod wrapping thread tightly to secure it further. Cover the wraps with a thin layer of epoxy for added strength and durability. Allow sufficient time for the epoxy to cure as per the manufacturer’s instructions.
Step 7: Final Inspection
After the epoxy has cured, inspect the rod eyes and guides again. Ensure that the guides move freely and are well-aligned. This step is crucial for preventing line tangles and ensuring optimal fishing performance.
Step 8: Test Your Repairs
Before heading out to fish, conduct a test by running line through the guides. Check for any snags or misalignments. Once satisfied, your fishing tackle should be ready for action!
Choosing the Right Replacement Parts for Your Tackle Needs
When it comes to maintaining your fishing gear, selecting the appropriate replacement parts is crucial for effective repair and performance. The right tackle components can enhance your overall fishing experience and prolong the life of your equipment.
First, assess the specific parts that need replacement. Common tackle parts that may require attention include reels, rods, line guides, and hooks. Each component serves a unique purpose, and understanding the role of each will help you choose replacements effectively.
Next, consider the materials of the replacement parts. Opt for durable materials such as stainless steel for hooks or high-density graphite for rods. These materials not only provide strength but also resist corrosion, which is vital for long-term use in various water conditions.
Compatibility is another key factor. Ensure that the replacement parts are compatible with your existing tackle. Check the specifications provided by the manufacturer to avoid any mismatches that could lead to further issues in your fishing setup.
Lastly, it’s advisable to seek replacement parts from reputable suppliers. Quality brands often provide warranties and assurance of performance, giving you peace of mind with your repair choices. Investing in high-quality parts may reduce the frequency of replacements and ensure you’re always prepared for your next fishing adventure.


